Menu
Double Stripe Border – Wall Decal
Decorative Border Wall Decal
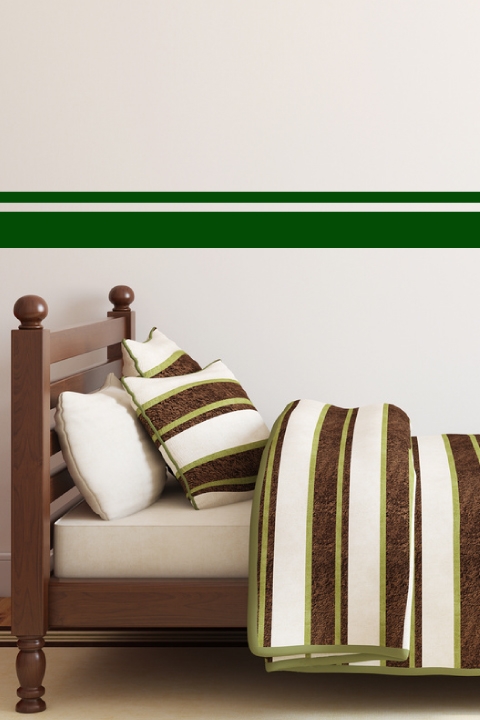
Double Stripe Border Wall Decals are an easy and inexpensive way to bring style and interest to your walls. This design features a thin and thick stripe that can be mounted at any height to mimic a chair rail, serve as an accent color or both!
Comes in 4 parts: 46in W x 8in H (large stripe is 5in H, small stripe is 1.5in H)
Assembled Length: 184in W x 8in H
$69.00
Share
Description
Double Stripe Border Wall Decals are an easy and inexpensive way to bring style and interest to your walls. This design features a thin and thick stripe that can be mounted at any height to mimic a chair rail, serve as an accent color or both! Connect the rows and have a room border in minutes! This design makes a great headboard alternative, dining room border or perimeter around a door way. Choose from 34 colors to find the perfect fit for your decor. Convert your walls into interesting landscapes in just minutes with WALLTAT Wall Decals.
Additional information
| Weight | 0.045359237 lbs |
|---|---|
| Features | |
| Size | 184in W x 8in H |
Be the first to review “Double Stripe Border – Wall Decal” Cancel reply
Materials
How to Install
Materials
Wall decals are made of high-quality, thin, flexible self-adhesive vinyl to blend with the surface they are used on. The decals arrive ready to install between a paper backing and a clear transfer film used during install. The thin vinyl enables it to be trimmed with a sharp knife or scissors to further customize it’s look during install and match it to surface features.
The self-adhesive vinyl we use will adhere to a wide range of smooth surfaces such as walls, glass, furniture, appliances and more. If you have questions material samples should be ordered to check suitability. The vinyl material will last many years depending on location and care, however the material is always removable at a future time as required. Some cleaning may be required after removal depending on length of time of installation and the surface. While removable the vinyl material is not intended to be reusable.
WALLTAT uses three types of material for different surface effects. A high-quality matte finish vinyl to give a custom painted look with color throughout (e.g., the color will be seen on either side of a glass install). We also have frosted translucent vinyl that simulates etched glass, primarily for windows, doors, skylights, exterior shower enclosures and mirrors. Lastly, we have a special material that simulates a chrome or gold finish, this is reflective but not intended to be mirror like.
Further details, material data sheets and fire ratings can be provided upon request.
How to Install
Inspect your installation surface and correct any unsightly blemishes. WALLTAT decals are made of a thin, flexible vinyl that will take on the texture of your wall or surface (especially the reflective vinyl). Major imperfections may puncture the vinyl during installation.
The recommended wall texture for successful decal application and adhesion is SMOOTH properly primed, painted and cured drywall that has little or no surface variation. Glass, smooth metal, plastic, laminate, porcelain and other non-porous substrates are also acceptable.
Newly painted surfaces should dry for at least 30 days prior to installation. If paint is not completely dry, WALLTAT decals may not adhere properly, or may lift paint off the wall when you decide to remove it.
WALLTAT decals will NOT adhere to textured surfaces such as rough drywall, stucco, plaster or faux finishes. They will NOT adhere to oil-based paints, paints which are low VOC or are stain resistant or mildew resistant, wet surfaces or fibrous materials such as fabric or canvas. Direct sunlight or moisture may loosen the adhesive over time and compromise the product.
DISCLAIMER
WALLTAT is not responsible for misapplication, substrate adhering issues or damages caused during installation. If you are not comfortable with installation, we recommend purchasing a Sample Decal Kit ($5 with a $5 coupon on your decal purchase) to test the color and compatibility of the vinyl with your surface, and/or if necessary, hiring a professional painter or wallpaper hanger that is familiar with wall decals.
USE & REMOVAL
Our wall decal designs have intricate cuts making it extremely difficult to salvage during the removal process. Therefore, these are considered a one-time-use product.
WALLTAT decals are temporary and will last 2-3 years, or much longer if taken care of. To remove the decal lift up an edge with a fingernail and slowly peel away from the surface. See FAQs related to removal for further details.
INSTALLATION INSTRUCTIONS
Getting Started: You will need masking or painters tape, a measuring tool such as ruler or level, squeegee (included), scissors, friend (recommended). CLEAN AND DRY THE SURFACE where you will be applying your WALLTAT (even for new or recently painted walls). Make sure it is smooth, dry and free of debris.
1 Unroll your WALLTAT (leaving both coatings on) and lay it out on a clean flat surface with the WALLTAT facing upward. Larger sizes and multi-colored designs are created in multiple parts. Some parts have match points to guide proper positioning. (Match points are in the shapes of stars, circles, squares, rectangles, targets, etc.).
2 If your design is only one piece skip to step 3. For designs in multiple parts, identify match points by overlapping each part to review how they fit together. If needed, refer to the website to view a picture of your design as a guide. Cut individual elements as needed, be sure to leave match points to corresponding parts. (You will install the match points with the rest of the design and remove them at the end).
3 Leaving both coatings on, pre-hang the WALLTAT in the desired location with masking or painters tape. Adjust as needed. Use the tape again to mark the surface at corners and areas around the perimeter of the WALLTAT. Remove the WALLTAT leaving the corner and perimeter tape markings behind.
4 Prepare WALLTAT on a clean flat surface. Your goal is to release the WALLTAT from the paper backing. It is best to begin with an end that has the least amount of detail. Lift and fold back the paper backing by slowly pulling back at surface level. Constantly preview the WALLTAT to ensure it is releasing from the paper. If necessary, rub the paper backing or use your fingernail to release stubborn areas and smooth them to the clear coat.
5 After the paper backing is completely removed, position your WALLTAT within your tape markings. (Hint: The clear transfer coating tends to have static and is more manageable with two people holding each end). Firmly squeegee the WALLTAT to the surface working outward. SLOWLY peel off the clear transfer coating, leaving the WALLTAT behind. Repeat STEP 5 and STEP 6 for designs with multiple parts.
6 Perform a close-up preview of your WALLTAT. Remove match points as needed. If you see air-pockets, lift up edges to release the air or use a pin to pop the bubbles and then smooth down with your finger.
You Might Also Like
Related products
-
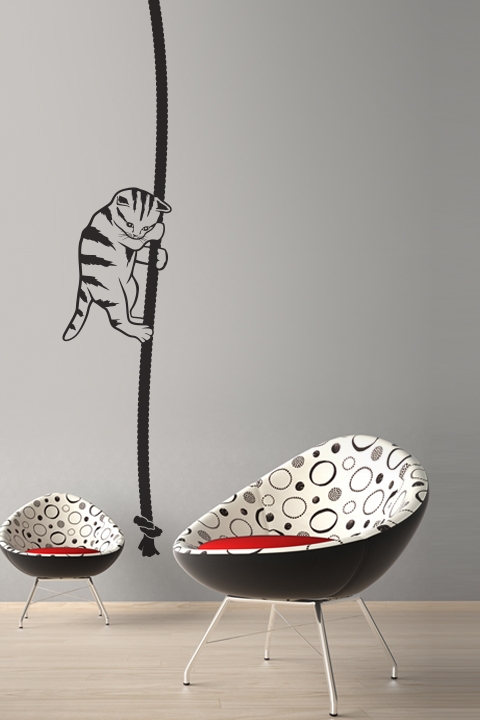
Cats on a Rope Wall Decals
$49.00 – $79.00 Select options This product has multiple variants. The options may be chosen on the product pageAdd to WishlistAlready In WishlistAdd to Wishlist -
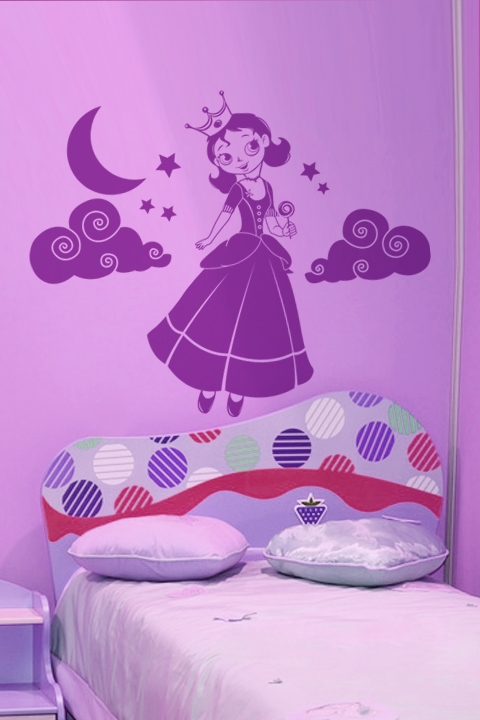
Lollipop Princess Wall Decals
$69.00 – $99.00 Select options This product has multiple variants. The options may be chosen on the product pageAdd to WishlistAlready In WishlistAdd to Wishlist -
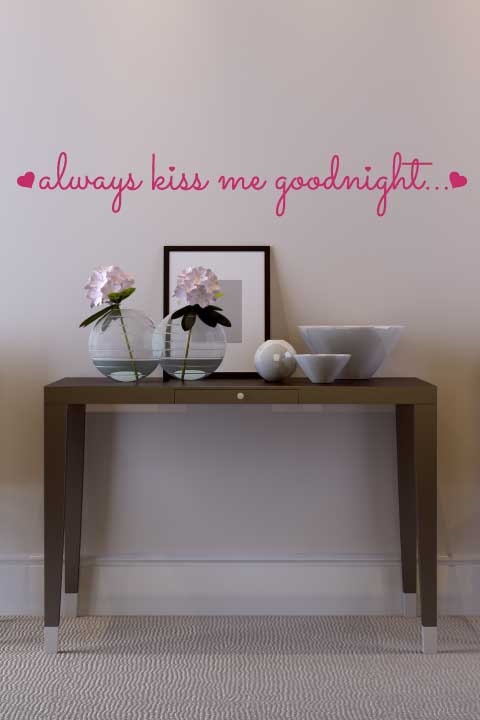
Kiss Me Goodnight Wall Decal
$45.00 – $65.00 Select options This product has multiple variants. The options may be chosen on the product pageAdd to WishlistAlready In WishlistAdd to Wishlist -

Cloud Princess Wall Decals
$69.00 – $109.00 Select options This product has multiple variants. The options may be chosen on the product pageAdd to WishlistAlready In WishlistAdd to Wishlist -
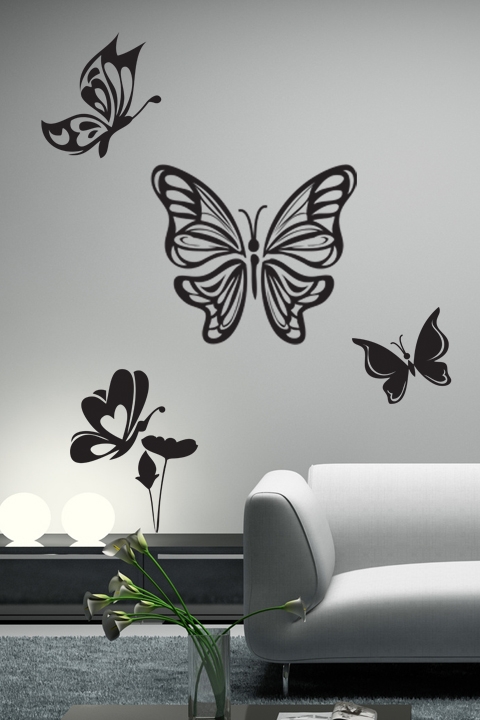
Butterfly Flight Wall Decals
$59.00 – $79.00 Select options This product has multiple variants. The options may be chosen on the product pageAdd to WishlistAlready In WishlistAdd to Wishlist
Safe and Easy Online Shopping



SKU
Wall-Decals-2047
Categories All Products Coupon Category, Nursery & Kids



Reviews
There are no reviews yet.